To get to the bottom of this issue, we’ve looked into dozens of user reports & attempted to replicate the issue on your Windows 11 test machines. After our investigation, here’s a short list of scenarios that could be responsible for this problem: Now that we have gone over every potential reason why you might be experiencing BSOD crashes after installing a new driver, move to the next section below and start troubleshooting with a series of verified fixes that other affected Windows 11 users have used to stop the BSODs from occurring.
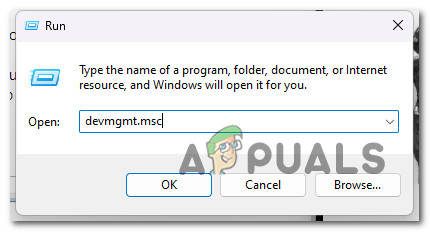
1. Install pending Windows updates
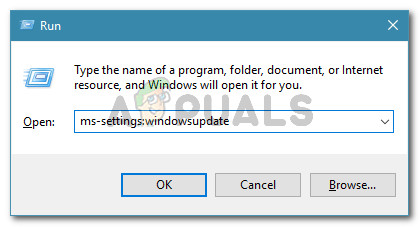
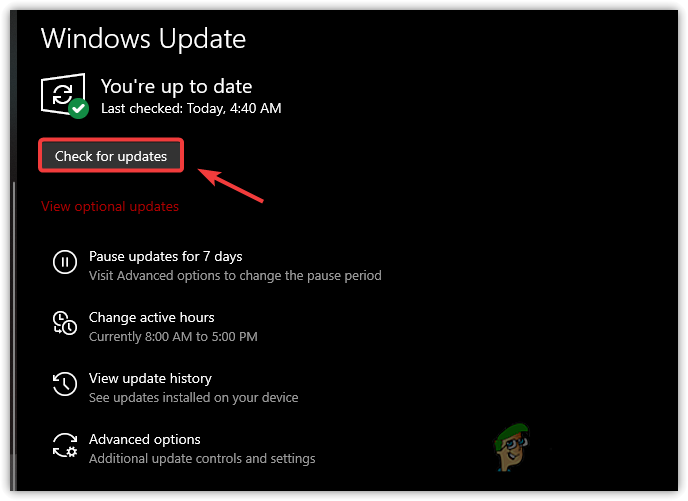
It turns out that Microsoft has published several hotfixes to improve the stability of Windows 11 drivers in demanding situations. Install every pending update on your Windows 11 PC before attempting any of the other solutions listed in this post if you suffer these serious system crashes when it is doing a resource-intensive task. Before trying any of the other likely options below, install all pending updates first, reboot, and see if the problem goes away on its own. The procedures listed below should remedy the problem if it results from a known flaw or inconsistency since Microsoft has already made several hotfixes to make Windows 10 native drivers utterly compatible with Windows 11; these updates were made available for each version of Windows 11 (including the N version). Follow these instructions to install each and every impending Windows update: If installing every pending update didn’t do anything in your case, move down to the next method below.
2. Revert overclocked frequencies
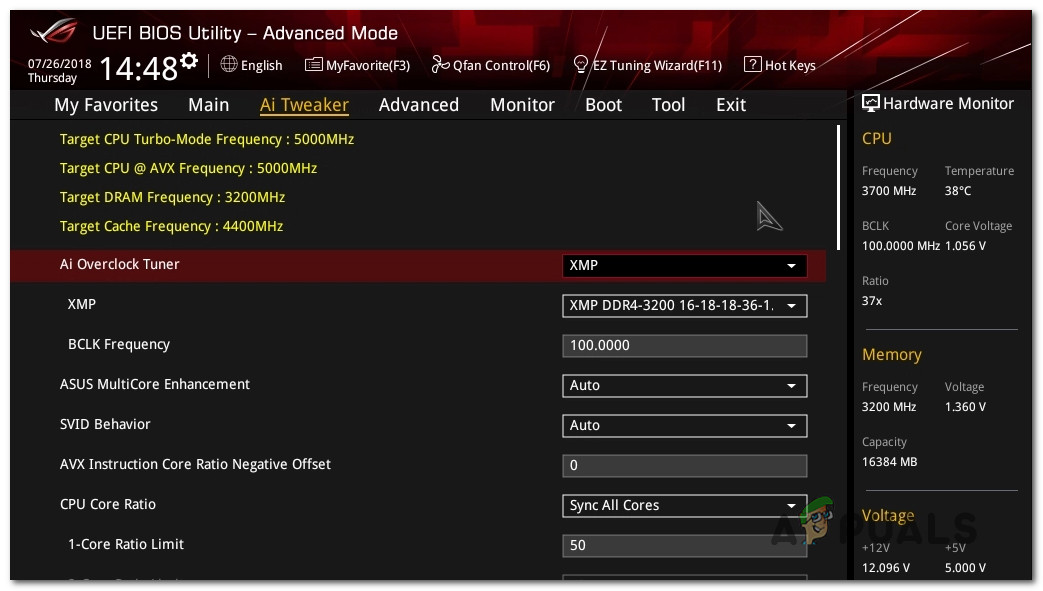
These significant system crashes (BSODs) can also be caused by your system operating at unsupported voltages and frequencies. Restore the stock settings to check whether the issue is fixed to determine whether your overclocked components are to blame for the BSODs that seem to happen at random intervals. Most situations will happen if your GPU frequencies are too high and your voltages cannot keep up. Another possibility is that your PC cannot produce adequate power due to overclocking. A few impacted users who were also experiencing this issue have claimed that their system eventually functioned properly after they decreased the overclocking frequencies for both their CPU and GPU. We advise returning to the original settings if this approach is applicable. This will help you determine whether the issue is caused by overclocking. Relaunch your system again after returning the overclocked frequencies to their standard settings to check if the crashes haven’t changed. If this method is not applicable in your particular case or doesn’t make a difference, move to the next method below.
3. Test for faulty RAM
Another factor contributing to these BSODs might be defective RAM which can enable memory leaks and lead to serious system crashes. Take the effort to run a Memtest to check the integrity of your RAM stick(s) to ensure this isn’t the cause of your frequent, severe system crashes. If you have dual-channel RAM installed, you may check to see if the problem still exists by removing just one stick at a time. Additionally, you should use a tool like Memtest to examine the integrity of your RAM stick(s). Important: If your RAM has previously been overclocked, we suggest reversing any voltage overclocked frequency and keeping an eye on your temperatures while doing a stress test with an application like HWMonitor. If running the Memtest tool on your RAM has shown a memory issue, your only option is to look for a replacement. On the other hand, if this approach fails to reveal a basic RAM issue, go to the next potential fix below and cross this potential culprit off your list.
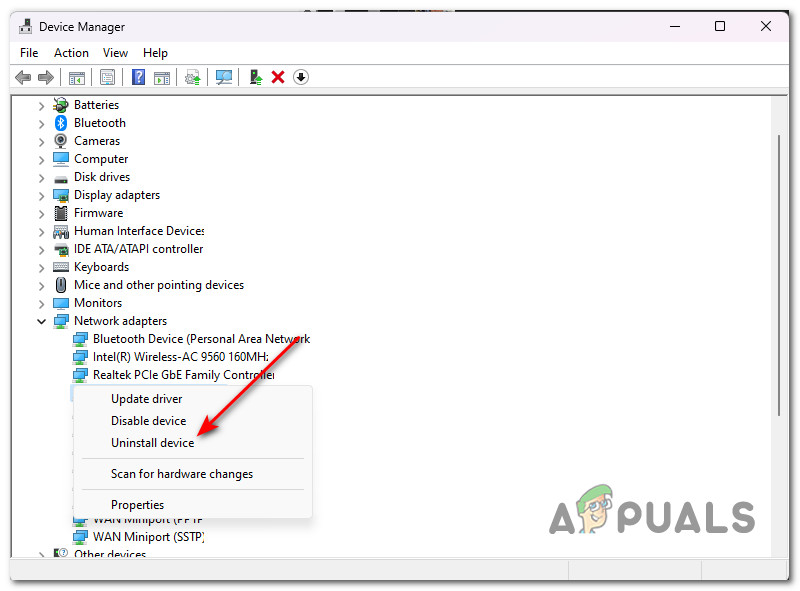
4. Uninstall Bandwidth Control Filter Driver driver (if applicable)
The Bandwidth Control Filter driver is one driver that frequently receives criticism for being the root cause of this problem on Windows 11. This driver is not essential to your system. Therefore, you may easily remove it to stop any unexpected consequences. Note: The Bandwidth Control Filter Driver is developed by Qualcomm. Its primary purpose is to allow users to restrict the amount of data flowing for each data type. Unless you are a developer or QA, you have no use for this driver, and you can easily remove it. Several users experiencing frequent BSOD have confirmed that they managed to fix the issue entirely after using Device Manager to uninstall the driver and prevent its unintended consequences. For step-by-step instructions on how to do this, here’s what you need to do: If the same issue is still occurring, move to the next method below.
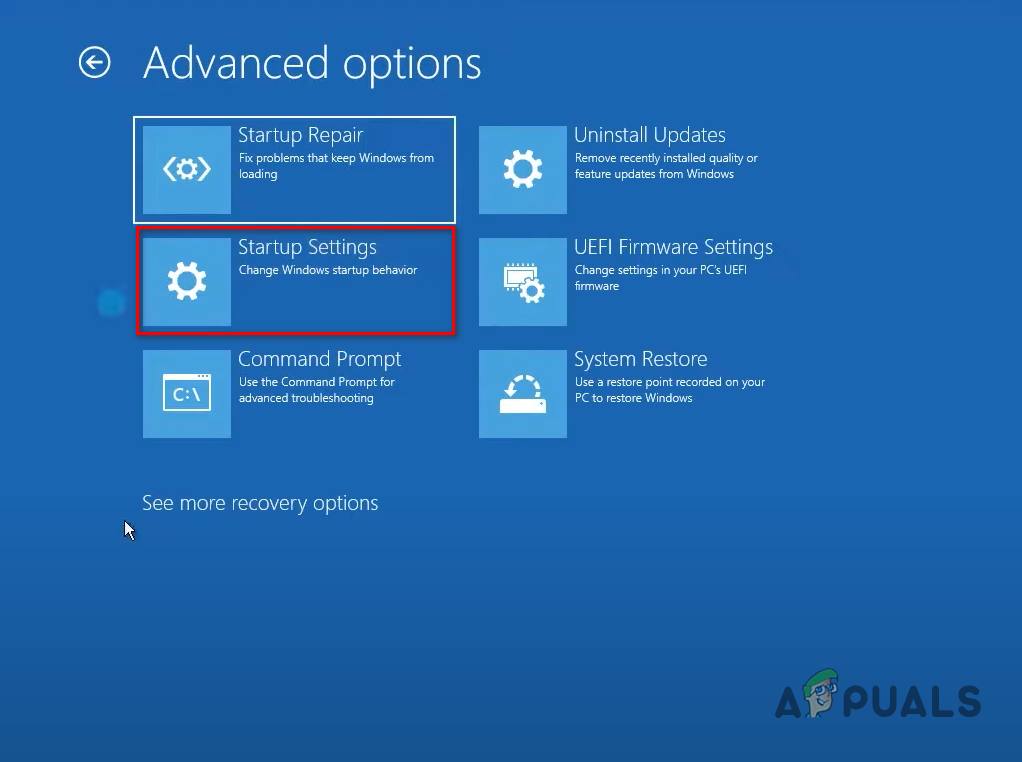
5. Disable Driver Signature Enforcement (if applicable)
A security feature known as “driver signature enforcement” may cause your BSOD if it always occurs during the startup process and at the same exact booting phase. This function forces your computer to avoid using an outdated driver that is not digitally signed, which may cause your system to crash. Disabling the driver signature enforcement option will solve the problem if you have faith in your driver fleet. Note: Both Windows 11 and Windows 10 use the driver signature enforcement feature to block drivers that are not digitally signed to avoid security risks. If you trust your drivers, even if some of them are not verified, you could potentially stop the critical system crashes by booting inside the recovery menu and booting your PC up with the Disable Driver signature enforcement option. It can also show errors, such as Windows requires a digitally signed driver. If you want to go this route, here’s what you need to do: If the problem is still occurring even though you disabled the driver signature enforcement option, move down to the following method below.
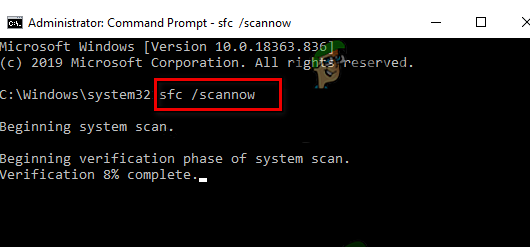
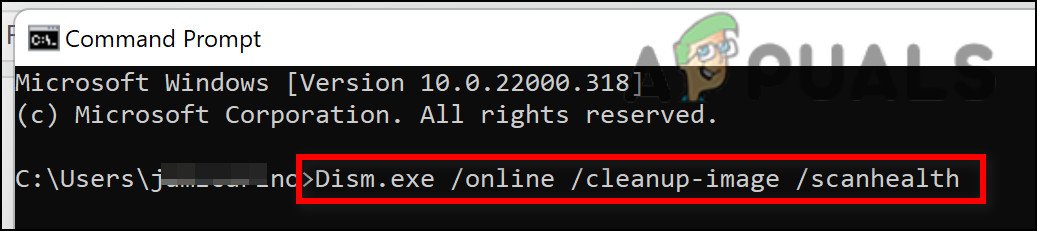
6. Deploy SFC & DISM scans
The cause of this severe system crash resulting in a BSOD can also be related to a system file corruption that affects the Windows 11 installation’s kernel. If this condition seems relevant, start running a few scans with two built-in tools, System File Checker (SFC) and Deployment Image Servicing and Management (DISM). Despite some similarities between SFC and DISM, we suggest running both tests immediately after the other to improve your chances of recovering the corrupt system files. If this is the situation, start with a basic SFC scan. NOTE: Remember that this tool is only local and won’t require a live internet connection. Even if the application seems to have stalled after beginning this procedure, it’s imperative to maintain the CMD window active. Wait patiently for the process to finish since halting it can cause logical problems on your HDD or SSD. Restart your computer to see whether the issue has been fixed once the SFC scan has been successfully completed. Run a DISM scan and complete the operation according to the on-screen directions if the BSOD crashes are still common. The critical contrast between DISM and SFC is that DISM uses a Windows update component to obtain healthy replacements for corrupt system files. Because of this, you must ensure that you have stable Internet before starting this process. Whether the DISM scan is successful, restart your computer to see if the random system crashes that started appearing after the installation of a driver has stopped. If the same issue is still occurring, move to the following method below.
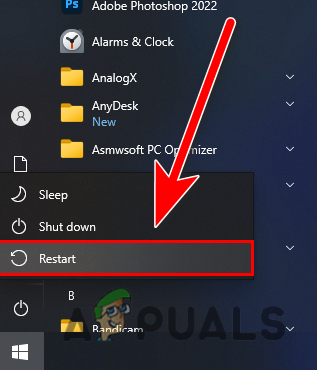
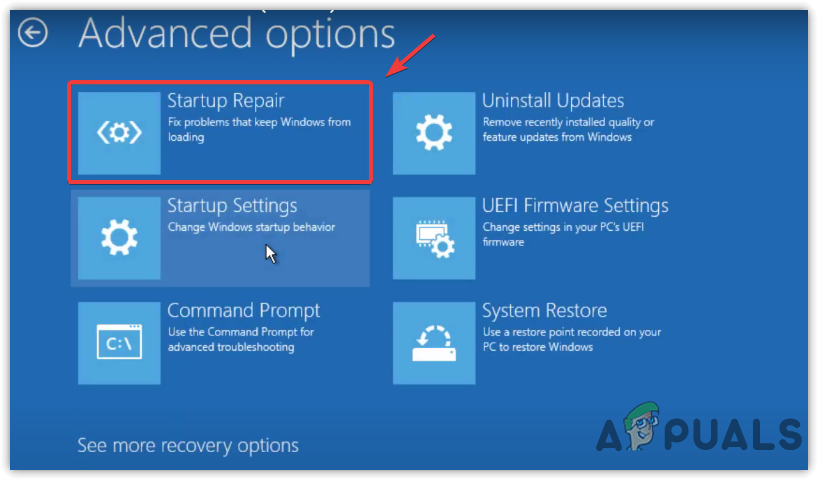
7. Perform an automatic repair
As mentioned previously, file corruption in your system files might result in this issue. If the aforementioned techniques have not worked, you should run an automated repair to see whether the issue may be resolved in this way. Please note that the most common system problems triggering this type of BSOD may be fixed with Startup Repair, a Windows recovery tool. Like any other Windows automated troubleshooter, this one offers several automatic repair options that may be employed if a problem is found. You won’t likely be able to start up conventionally without your PC crashing along the way. Therefore, you’ll need to utilize the Recovery Menu to launch a Startup Repair operation. If this describes you, use the procedures listed below to start a Startup Repair operation: If the same problem is still occurring, move to the following method below.
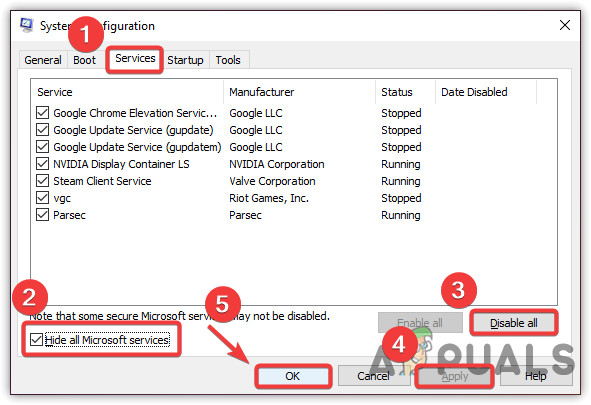
8. Achieve a clean boot state
A significant system crash that happens with repetition may be indirectly brought on by previously installed software drivers on your Windows 11 PC. This depends on the third-party applications and services configured to execute on every startup. Reach a clean boot state and observe whether the issue disappears to verify if this assumption is accurate. If you only sometimes encounter this issue, it’s possible that a malicious driver is messing with your computer and causing this behaviour. It is almost impossible to construct an entire list of all suspected offenders. Thus, the best line of action is to execute a clean boot and then gradually enable each service, initial item, or process until you find the perpetrator. Starting in clean boot mode and performing a series of procedures to check for a software conflict and find the troublesome service or process should be able to fix the issue in this case. Note: To provide a clean boot state and maybe stop the emergence of this problem, your computer will start up without any third-party services, processes, or other beginning objects. If getting a clean boot state didn’t help your problem, move on to the next step.
9. Use System Restore
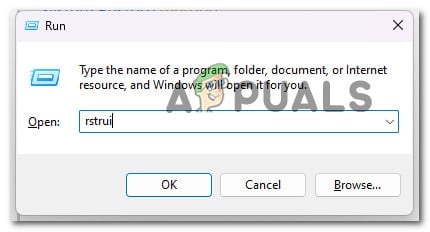
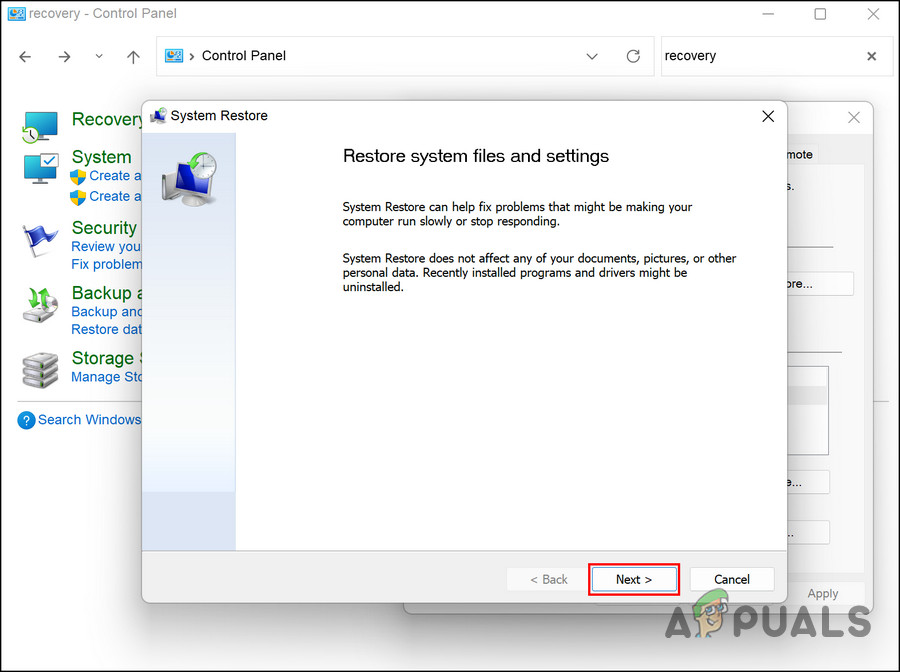
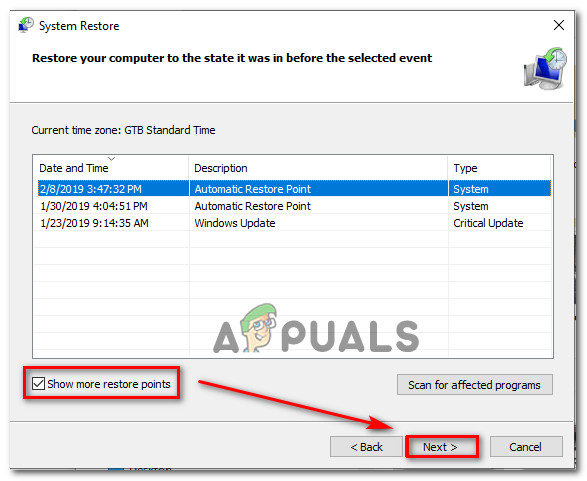
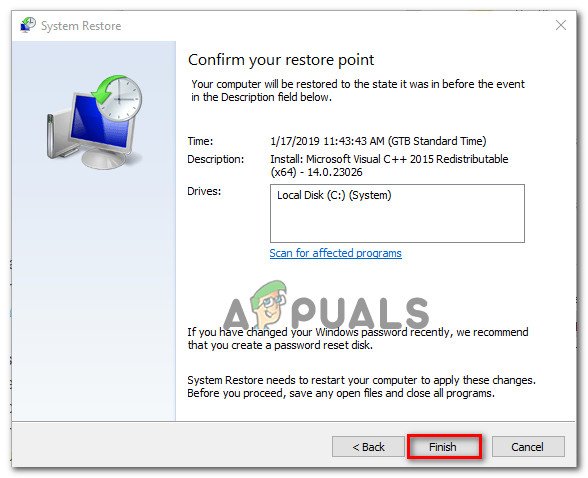
Using System Restore, you may be able to return to a time when the BSOD was not occurring if you only recently began encountering this issue after installing a driver update or piece of software. It is often impossible to determine which driver or piece of software is the problem. If this is the case, using your computer’s System Restore program to take your system back to a period when the problem wasn’t there is the easiest way to remedy the current problem. You will then be able to resolve the problem. Unless you modified the default behaviour of the rstrui (System Restore utility), you should have plenty of restore points to choose from. IMPORTANT: Keep in mind that this operation will effectively revert your Windows 11 installation to the exact state it was when the system restore snapshot was initially created. This will produce an effect on your driver fleet, installed programs, installed games, and installed system updates. If you understand the consequences and you want to move forward with this method, follow the steps below to use a healthy snapshot to revert your PC to a healthy state in which the critical system crash was not occurring: If restoring your PC to a previous point in time didn’t fix the issue for you, move down to the following method below.
10. Perform a clean install or repair install
You may assume that your issue is the consequence of a system corruption issue if none of the aforementioned steps has been able to remedy or even reduce the frequency of the system crashes that started after a Windows 11 driver. Other users who had a similar issue said that the critical system crashes stopped occurring permanently once they effectively replaced every Windows component & subcomponent with a healthy equivalent. This may be achieved via a clean install or an in-place fix (repair install). The main drawback of a clean install is that you can’t store your stuff (apps, games, personal media, etc.) unless you back them up. On the other side, the significant advantage of selecting a repair install is that you can keep all your personal information, including applications, games, personal media, and even specific user preferences. But the procedure takes a little longer.
Fix: BlueScreen Recovery Error 0xc0000017 on Windows 10Fix: “No Device Drivers Were Found” Error While Installing WindowsHow to Stop Windows from Automatically Installing Outdated DriversHow to Disable Windows 10 From Automatically Installing Realtek Drivers