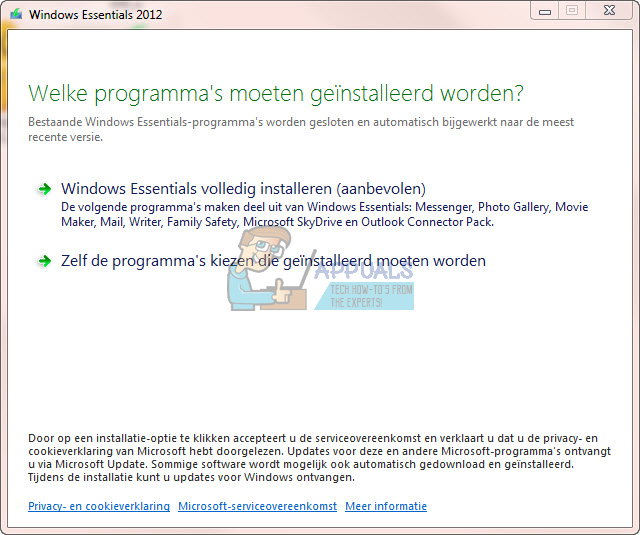
The last available version is the 2012 Windows Essentials that has been somewhat stripped to include includes Microsoft Mail, Photo Gallery, Movie Maker, SkyDrive now called OneDrive (desktop application), Writer, and Messenger. However, Microsoft discontinued its support on January 10th, 2017. If Windows Essentials fails, you will want to repair it using its installer. If that fails to function properly, the next logical thing would be to uninstall Windows Essentials and then install it afresh. Here is where the problem comes up. Several users report that after uninstalling Windows Live using the programs and features window from the control panel, running the installer only gives the possibility to choose applications to install, but not repair or remove. If you choose to install, the installer says that everything is installed and working OK but it seems like nothing installed at all or the problem persists. So the question is – how can you completely remove the whole of windows essentials 2012 so that you can reinstall it without the installer not finding an “already installed” pointer?
This is a common problem with corrupted previous Windows Essentials files. The issue can be caused by corrupt files in the registry or corrupt files in the program’s files folder. Here are the ways we have prepared to help you remove Windows Essential 2012 and reinstall it afresh.
Method 1: Uninstall Windows Essential 2012 using Command Prompt
To fix this we recommend that you uninstall the application using the CMD line parameter this is different from uninstalling the application via the control panel. This will clean out all related files of your Windows Essentials that are stored in your system. To do this, please execute the steps below:
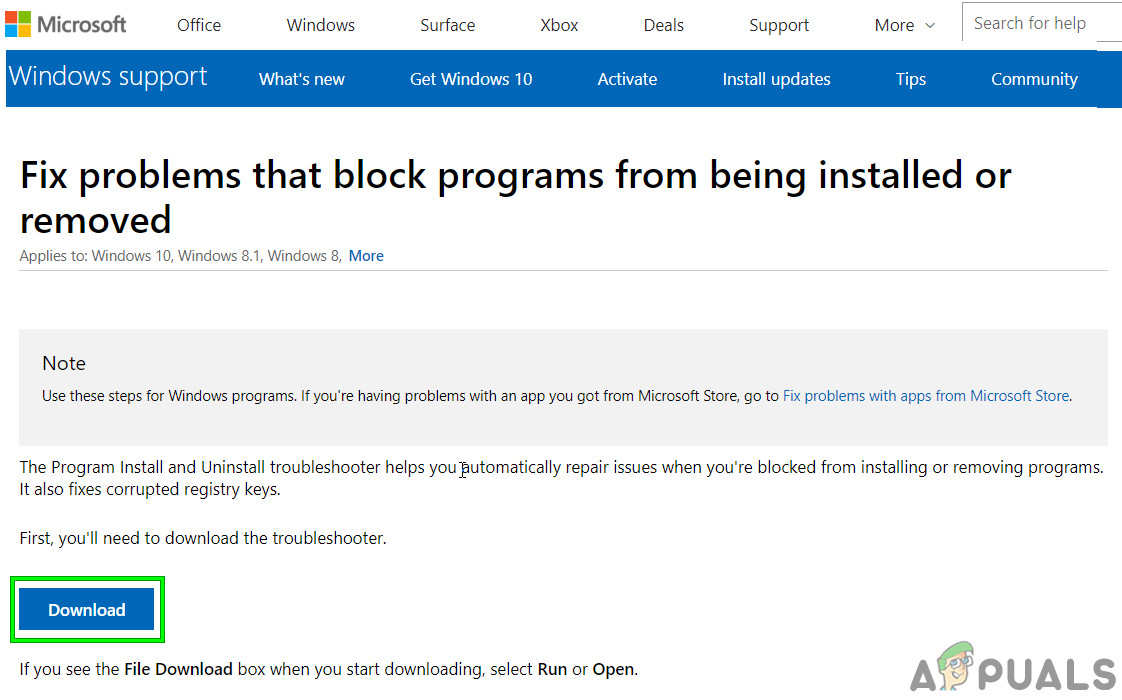
Step 1: Run the Fix it Tool
This troubleshooting tool by Microsoft will look for uninstalled programs from your registry and try to force them to uninstall. It will remove bad registry key on your operating systems and resolves problems that prevent programs from being completely uninstalled and blocking new installations and updates. If you had tried to uninstall Windows Essentials by deleting its files in program files, this step will come in handy. You can rerun the troubleshooter and select ‘Installing’ to troubleshoot problems that are preventing programs from installing.
Step 2: Uninstall Windows Live Essential via Command prompt
Unlike the control program uninstallation, this will clear all Windows Live Essentials files. Below are the steps on how to uninstall Windows Live Essentials via the CMD line parameter.
Method 2: Run Windows Live Essentials Uninstaller
Method 3: Delete the Windows Live Folder
If nothing has helped you, then try to complete the above 2 methods within Safe mode or use clean boot Windows. Even then you are having issues, then follow the steps below with Safe Mode or use clean boot Windows.
How to: Uninstall Security Essentials in Windows 10SOLVED: Windows Live Mail 2012 Will Not Open After upgrading to Windows 10How to Completely Uninstall Microsoft Teams on Windows 10?How to Uninstall and Remove avast Completely in Windows 10