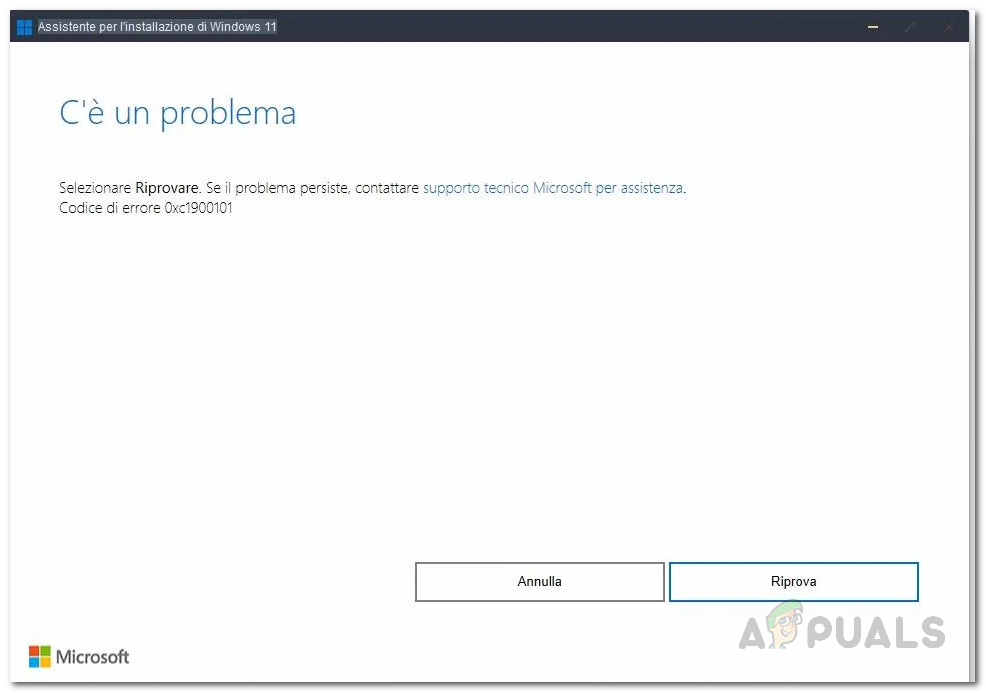
As it turns out, updates are essential for every computer. System updates help keep your computer safe by installing security patches and improves the overall performance with the help of quality of life updates. On top of that, installing a new Windows operating system is always an exciting thing to do. However, when this process is prevented by an error message, it can turn into an ordeal. Like we have mentioned earlier, there are a number of reasons the problem in question can occur and in order to understand this better, let us first go through the potential causes of the issue in more detail so that you are able to isolate the source of the problem. After that, we will get into the different methods that are available to help you resolve the issue. With that said, let us get started. Now that we have gone through the possible list of causes of the problem in question, we can finally get started with the different methods that are available to you to resolve the problem. So, without further ado, let us get right into it.
Uninstall Third-Party Antivirus
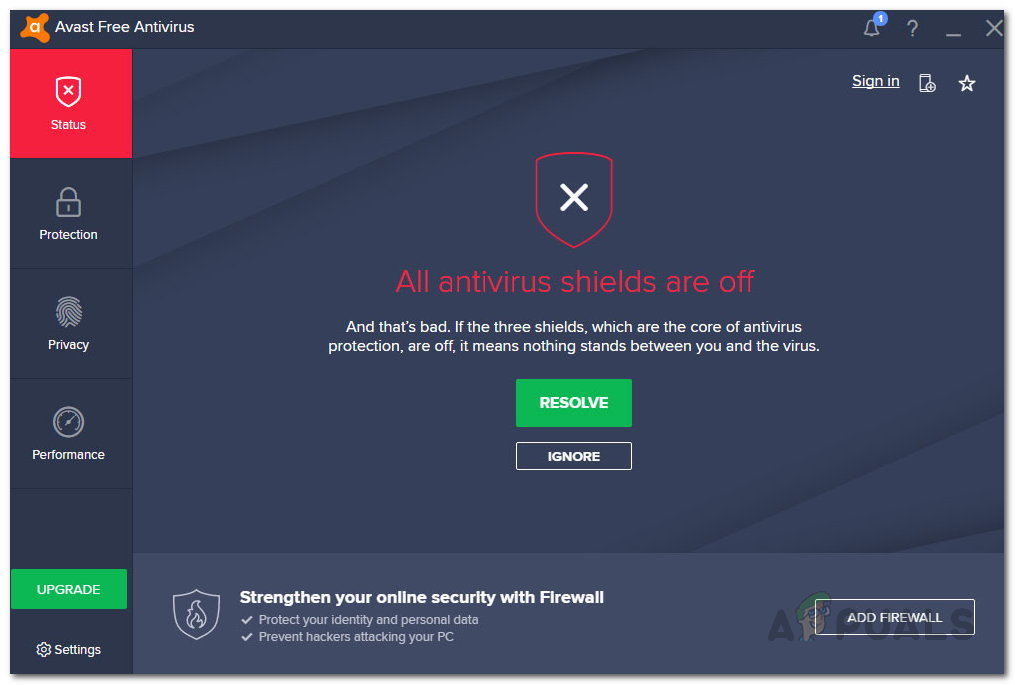
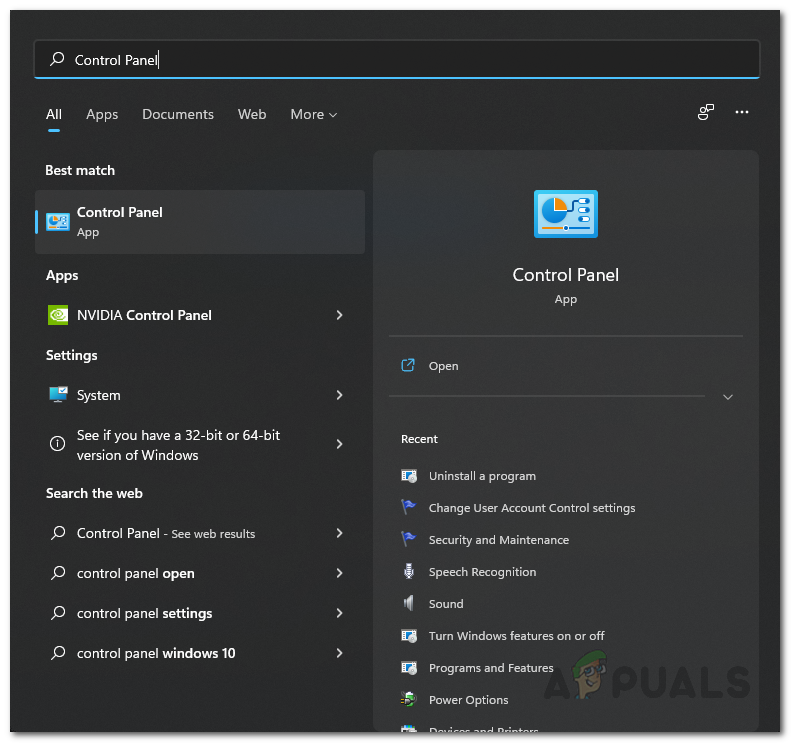
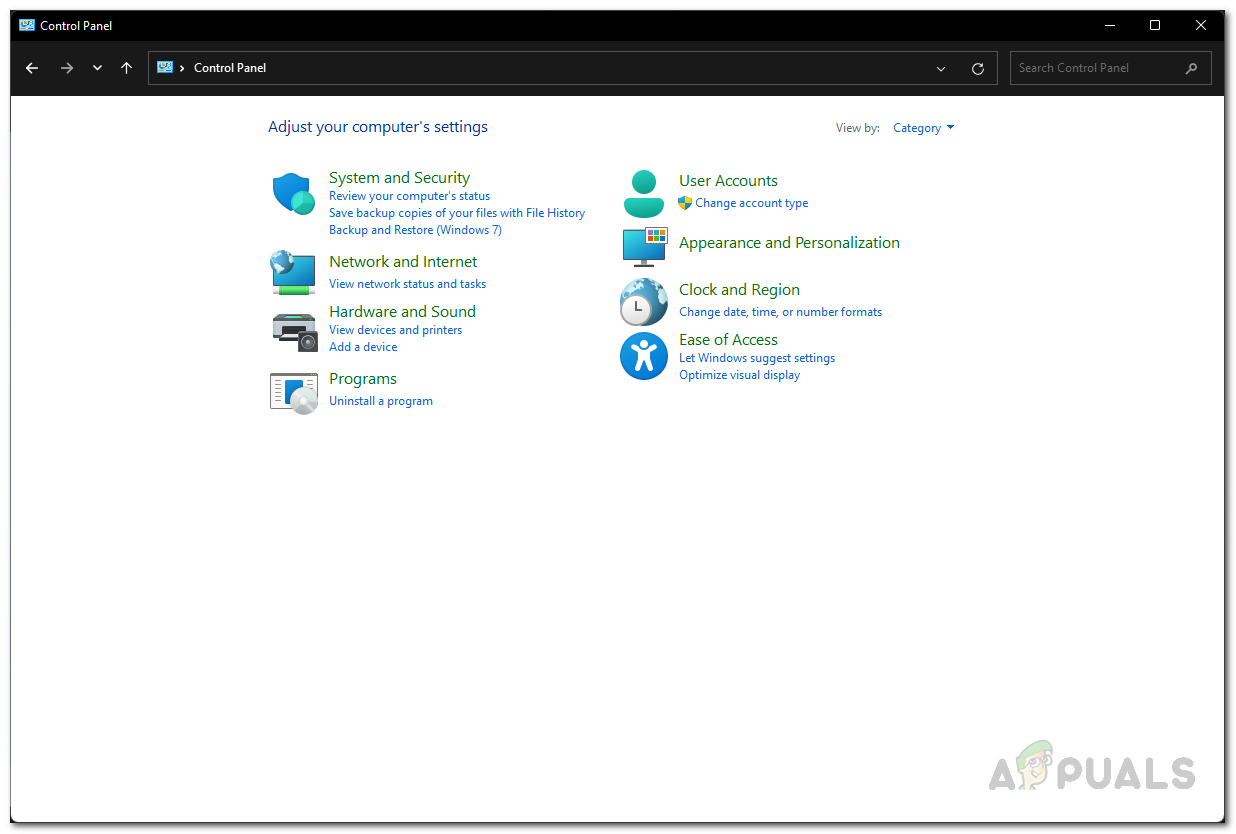
As it turns out, the first thing that you should do when you come across the problem in question is to go ahead and uninstall the third-party antivirus program on your system. While security programs are really beneficial as they keep you safe from potential malware and whatnot, there are usually cases where they cause certain problems due to a false positive. This is pretty common and it almost happens to everyone who uses a third-party security program. Due to this, we recommend sticking to the default Windows Defender which has gotten pretty good over the years and receives updates frequently. If you are using a third-party antivirus, go ahead and uninstall it from your computer via the control panel. You can also choose to disable it temporarily if you really don’t want to remove it. Once you have done that, go ahead and see if the problem still occurs.
Remove BitLocker or Any Other Encryption
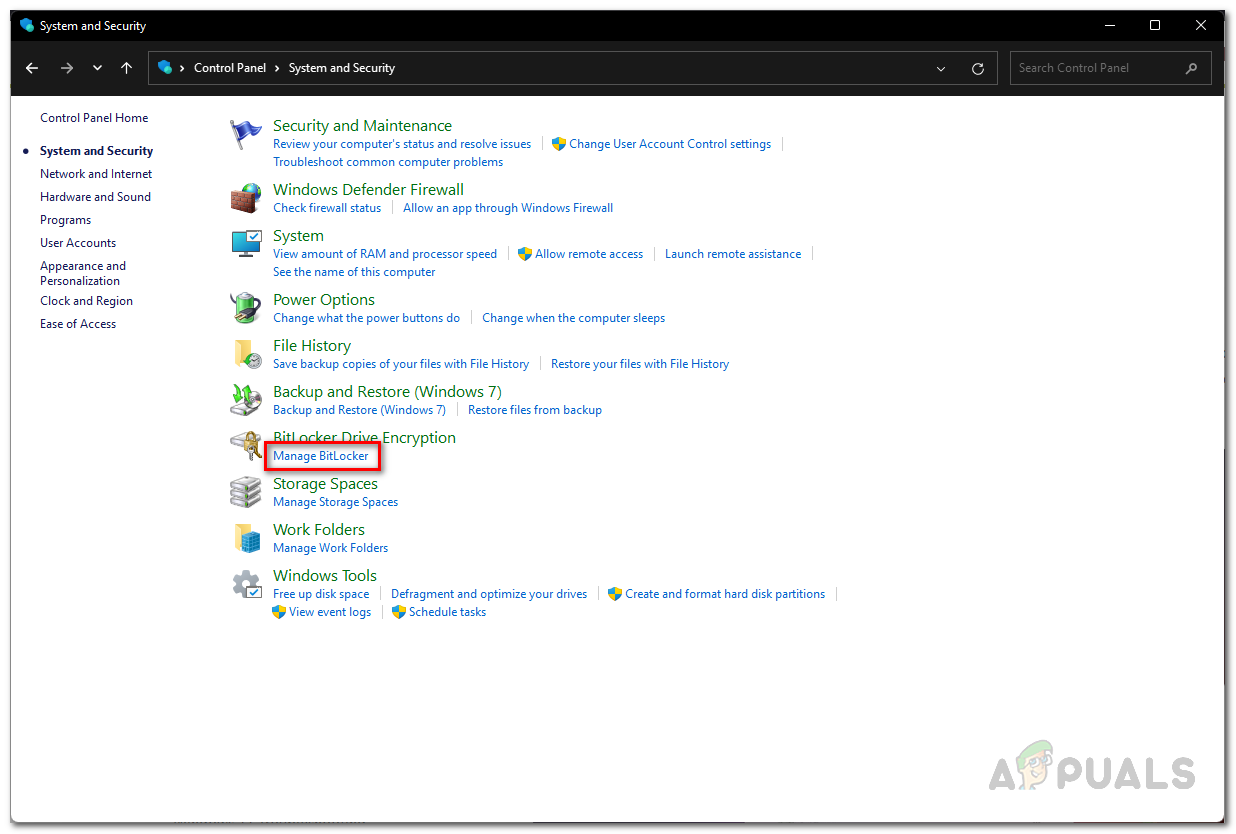
Like we have mentioned earlier, another reason that is likely to cause the 0xc1900101 error code is when you are using BitLocker or any other similar software to encrypt your drives. When this happens, the installation won’t be able to proceed as it won’t be able to update the system files in the drive. If this case is applicable, you will have to simply remove the BitLocker protection from your computer to resolve the problem. To disable BitLocker, follow the instructions given down below:
Disable RealTek Drivers
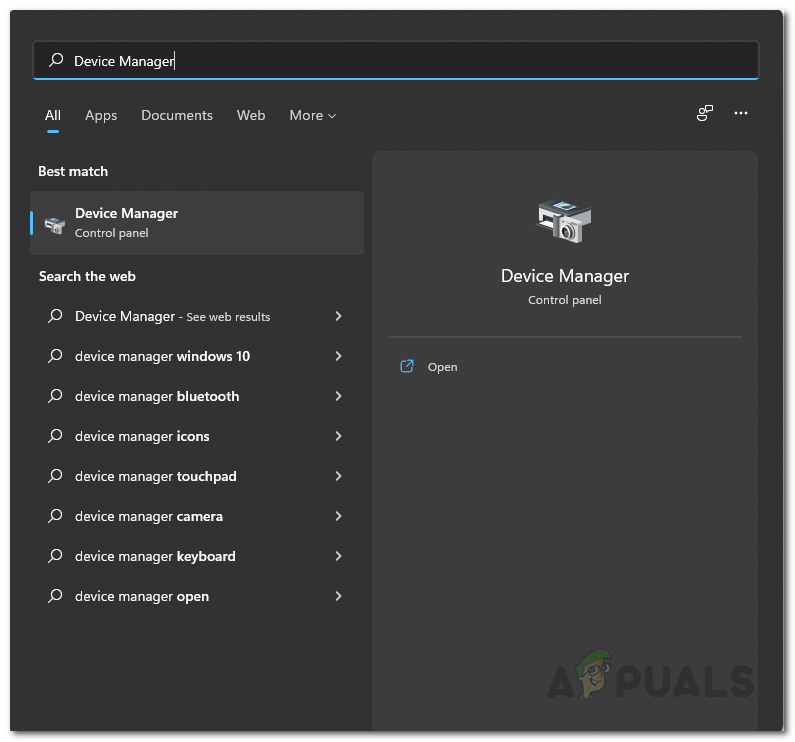
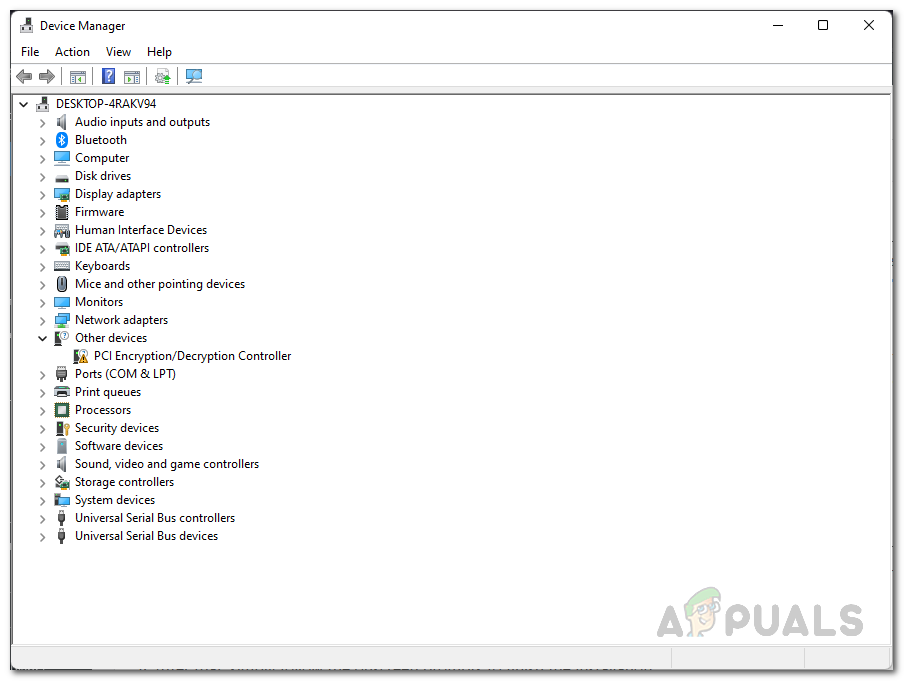
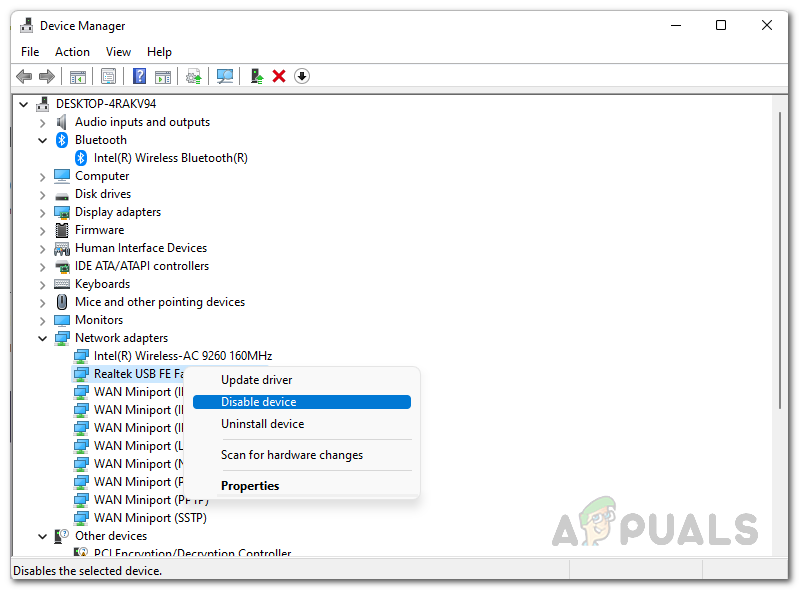
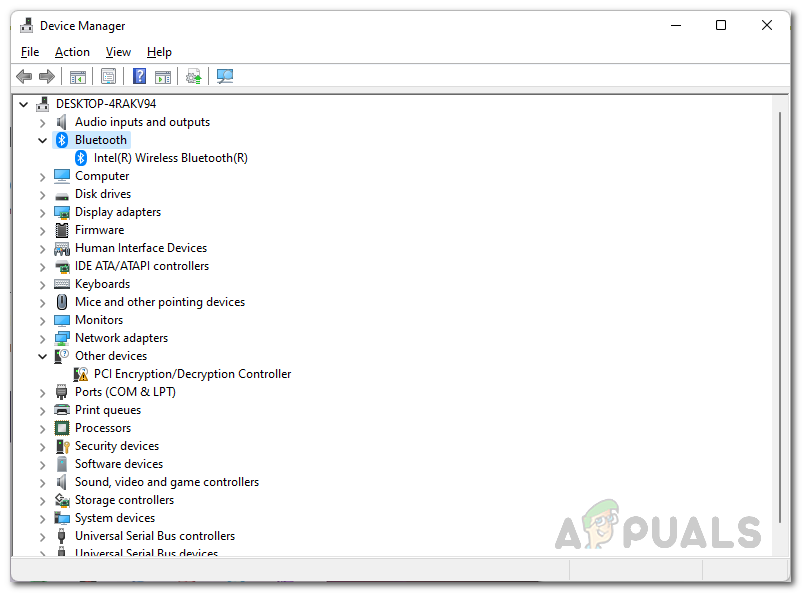
As it turns out, if you are using Realtek drivers on your computer, that can cause the problem in question sometimes as well. Realtek drivers are mostly for your network and other connectivity like Bluetooth. If this is applicable, you will have to simply disable the RealTek drivers on your computer to fix the problem in question. This can be done pretty easily through the Device Manager window. Follow the instructions given down below to do this:
Uninstall .NET Feature
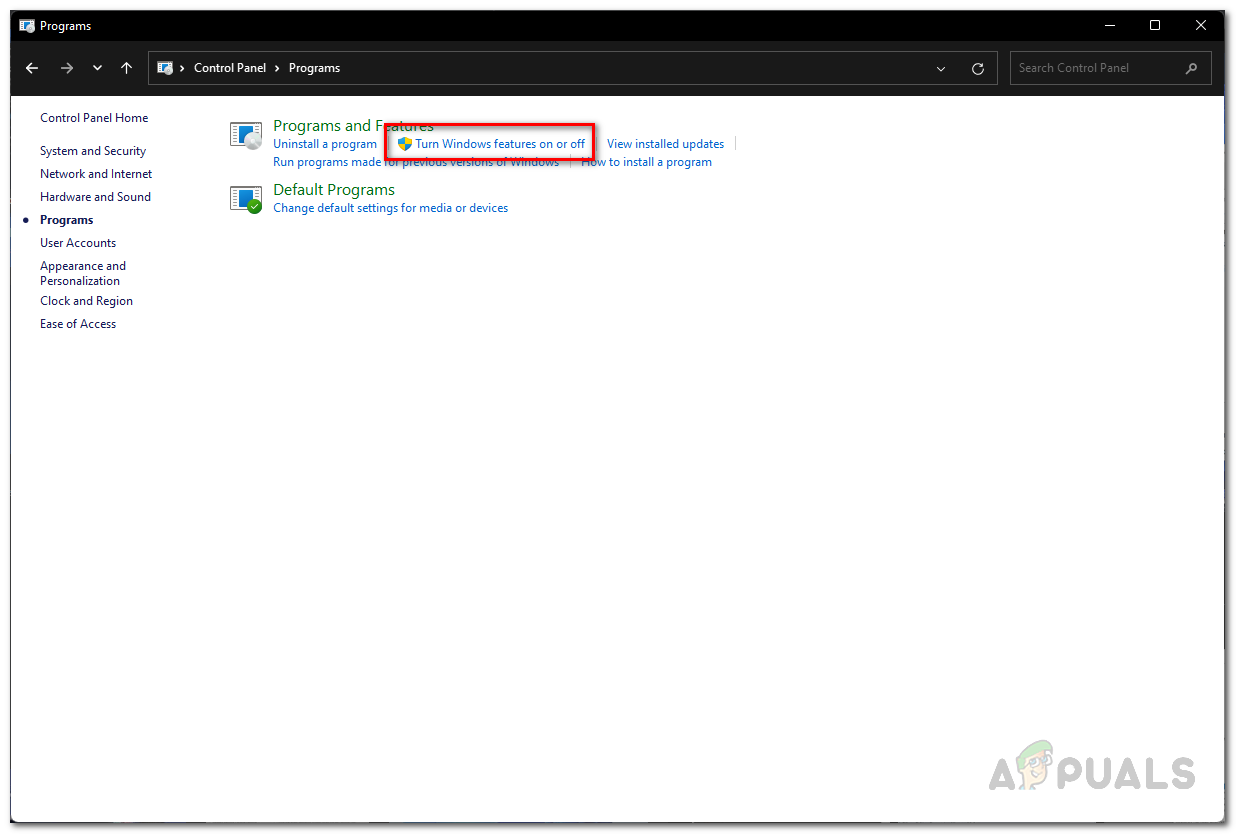
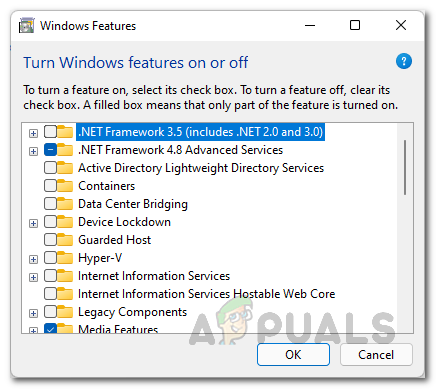
Another way that you can resolve the problem in question is by uninstalling the .NET feature on your computer. This is enabled by default on most of the Windows editions and is located in the Windows Features window. In case the problem is being caused by the .NET feature, uninstalling it through the Windows Features window will certainly resolve the problem. Do not worry as you can simply install them again after the update via the same process. Follow the instructions down below to do this:
Change Secure Boot OS Type
As it turns out, Secure Boot is a feature that is required by the Windows 11 operating system. For this purpose, you will need to have secure boot enabled. However, in some cases, you can experience an issue with upgrades on your system when you have the OS Type set to Other OS in your BIOS settings of Secure Boot. If this case is applicable, you will have to simply boot into your BIOS and then rectify this problem. The procedure may vary slightly for everyone depending on the motherboard that you have so we can’t provide fixed guidelines. However, the OS Type option is inside the Secure Boot option in your BIOS settings so keep that in mind. Therefore, go ahead and restart your computer and boot into your BIOS. Locate Secure Boot and inside the Secure Boot options, change OS Type from Other OS to Windows UEFI Mode. Once you have done that, save the changes and reboot your computer. After that, run the installation assistant again to see if the problem is fixed.
Update BIOS
In case changing the OS Type in the Secure Boot, options did not resolve the problem for you, it is very likely that the issue is being caused by outdated BIOS firmware on your end. This is likely because of the fact that Windows 11 is a demanding operating system due to its installation requirements that we all are aware of at this point. Therefore, if your BIOS firmware is not up to date, it can cause problems with the upgrade process. In such a scenario, to resolve the problem, you will have to simply update your BIOS firmware to the latest version that is available for your motherboard. To do this, you will have to go to your motherboard’s manufacturer website and search for your board’s drivers. In most cases, there are utilities available that are provided by the manufacturer that you can use to install the latest BIOS firmware. Once you have done that, you can try running the installation assistant again to see if the 0xc1900101 error code appears again or not.
Clean Install Windows 11
Finally, if none of the above methods have fixed the problem for you and you are still encountering the error code mentioned above, then we are afraid we don’t have any more workarounds for you. In such a case, you will have to perform a clean install of Windows 11 if you wish to get on the new operating system badly. Clean installing means you get to lose all of your data that is in your system drive and thus will also have to reinstall all of the software that was installed in the system drive. To perform a clean install, you can follow our detailed guide that takes you through the process by clicking here.
Fix Windows 10 Installation Error 0XC1900101 – 0x20017Fix: 0xc1900101 – 0x4000d Error During Windows 10 InstallationFix: Windows 10 Update Error ‘0xc1900101-0x30018’Fix: Windows Setup Error 0xC1900101 - 0x40017