But before moving on, try checking out these handy tips before moving on to more technical solutions:
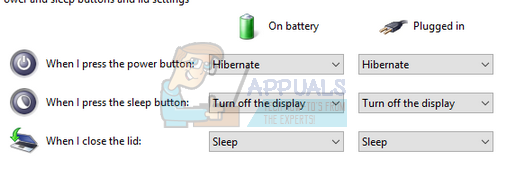
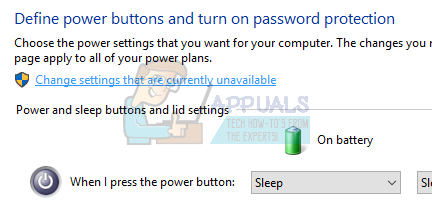
1. Replace Sleep with Hibernate
It seems the case for many users that their computer couldn’t function the operation of sleep properly. One workaround is to replace the function of sleep with hibernate functionality so whenever you close the lid or press the power button, the computer hibernates instead of sleeping. This solution solved the problem in the majority of cases. Click on “Save Changes” at the bottom of the screen and navigate back to the previous page. Press Ok to save changes and exit. Restart your computer for the changes to take place and check if the problem has been solved.
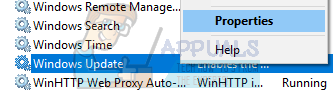
2. Downgrade the Version of Intel Management Engine Components Driver
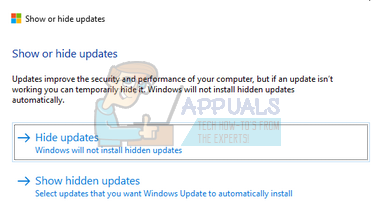
We will download the Intel Management Engine Interface Driver (version 9 or 10) and exploit the show or hide the updates package to stop the system from installing version 11 again. We will have to pause the update service of your computer using the services menu to ensure that Windows doesn’t automatically install the version 11 itself. Note: You don’t need to uninstall version 11 before installing version 9 or 10. The presence of some version of the driver is required to downgrade it.
3. Check Compatibility of Attached Devices
If you are experiencing this problem after upgrading to Windows 10, it can be because of non-compatible devices connected to your computer. Many manufacturers take time before rolling out the required updates for their equipment to be completely compatible with the newer version of Windows. The devices can include your printer, or gaming consoles, etc. Head over to the manufacturer’s website and confirm the compatibility of the device. If it isn’t, disconnect the device from your computer and check if the sleep problem persists.
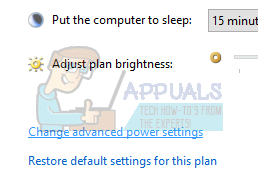
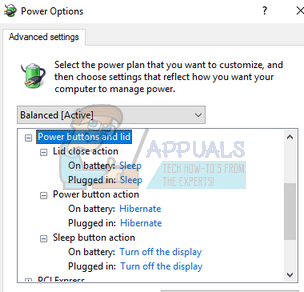
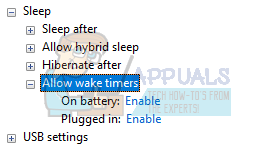
4. Change Sleep settings
We can try changing the wake-up timer settings from your power settings and check if this does the trick. This setting will ensure that your computer wakes up whenever it goes into sleep mode and the option is enabled.
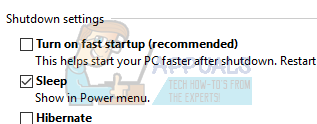
5. Change Deep Sleep Function
Windows 10 has a feature of deep sleep. The computer saves all the data before sleeping so when it starts up, it can directly load it and start much faster. The CPU will also be not running in the process hence increasing your battery life and performance. May be your machine doesn’t support the deep sleep function. You can check the compatibility using your computer manufacturer website. If it doesn’t, you can disable it using your BIOS settings. Enter your BIOS settings upon the start of the computer and navigate to Setup > Config > Power > Intel Rapid Start Technology. Change this setting to Disabled and save changes before exiting. You may use S3 power settings to solve this issue. Also, make sure that hybrid sleep is set to disabled in the BIOS. We can also change the Fast startup option from the power management settings available on your computer.
6. Update Your Display Drivers
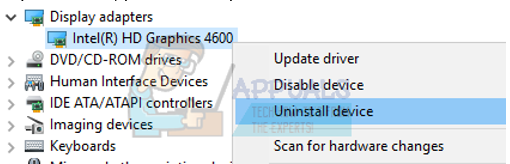
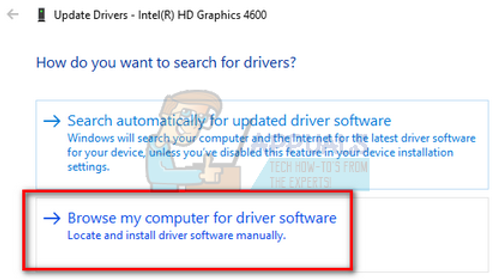
When Windows loads from sleep mode, it uses the graphics hardware to load the computer and provide the required GUI. If the graphics drivers are not installed correctly or are corrupt, this can cause a problem. We will start your computer in Safe Mode and delete the currently installed drivers of your display card. Upon the restart, the default display drivers would automatically be installed upon the detection of your display hardware. Windows Update always tries its best to deliver the latest drivers available for your hardware. But it also doesn’t mean that they are the latest ones available. Alternatively to the Windows Update, you can also head over to your graphics card’s manufacturer website and download the latest drivers manually. If the latest drivers also don’t solve the problem in question, you can try downloading and installing an older driver for your hardware. Manufacturers have all the drivers listed according to date and you can try installing them manually. Follow the instructions below to install the drivers manually. Note: You should also update all your other drivers (mouse, keyboard, sound, etc.)
7. Use CMD to Disable Windows Sleep
As a last resort, we can try disabling your Windows sleep function using the command prompt. If this method doesn’t work for you, you can easily revert the changes by changing “off” with “on”.
8. Run the Power-Troubleshooter
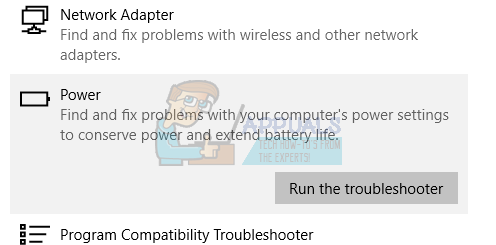
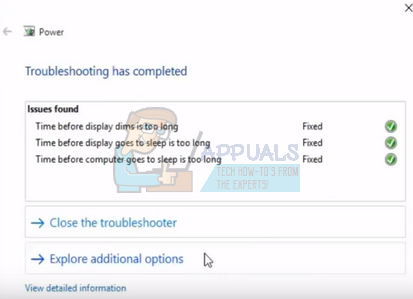
We can try running the power troubleshooter on your Windows. It is a utility developed by Microsoft to check the power settings and locate discrepancies. If the troubleshooter finds some settings which are causing the issue, it will automatically fix them and inform you.
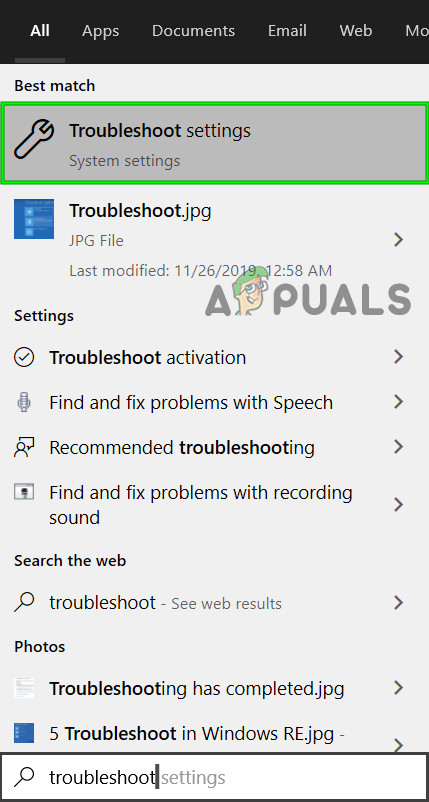
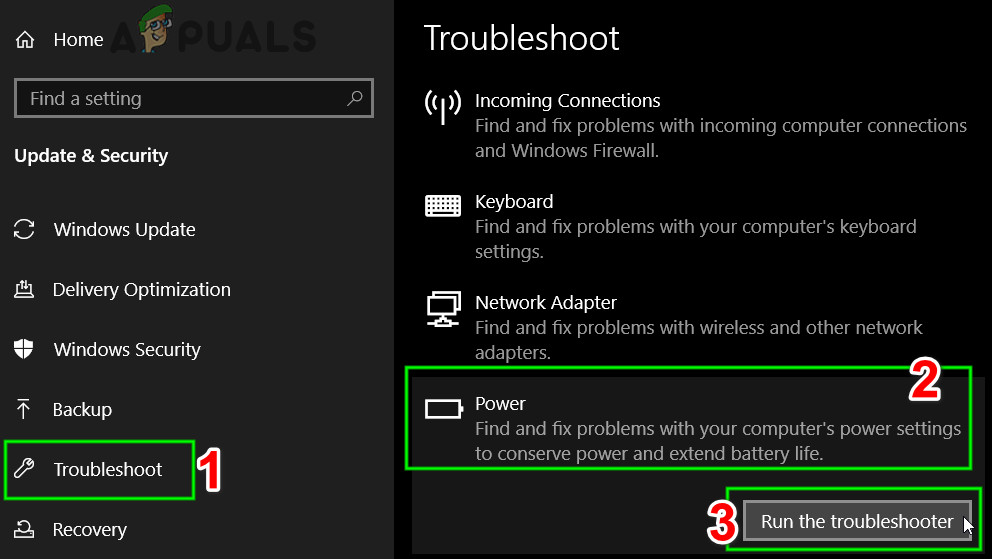
9. Run the Power Troubleshooter
To troubleshoot, Windows has many built-in troubleshooters. As we are having issues with the power settings of the system, we can try running the Power troubleshooter and see if this does the trick for us. When you run the power troubleshooter, it will automatically check the registry, the hardware, and the interacting software components and make sure everything is in place. If any discrepancy is found, it will be restarted/reset automatically and fixed.
10. Update BIOS
There is a misconception that sleep functionality is just an OS feature; BIOS plays a critical role in the sleep functionality of your system. An outdated BIOS can become incompatible with the OS and thus cause the non-waking of the system from sleep. In that case, updating the BIOS to the latest version may solve the problem. Warning: Proceed at your own risk, as updating your BIOS is a more technical step and if done wrong, you may brick your system and cause everlasting damage to your system. Here are some tutorials on how to update the BIOS of different manufacturers:
11. Try Registry Fix
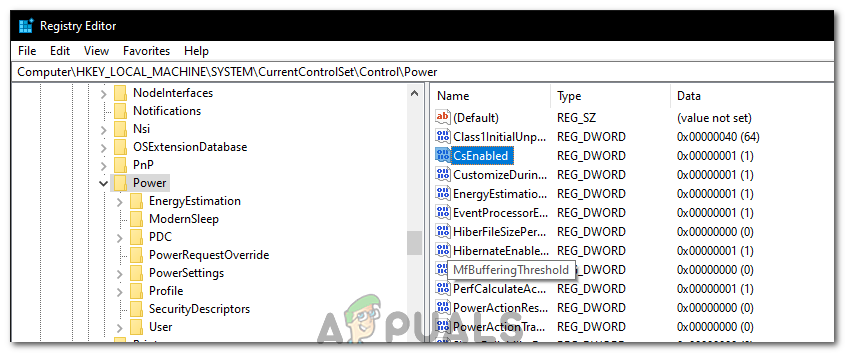
In some cases, certain registry settings need to be altered to get this feature to work properly. Therefore, in this step, we will be reconfiguring the “Connected Standby” settings. In order to do so:
How to Fix the Computer Keeps Waking up from Sleep Problem?How to Prevent StartMenuExperienceHost.exe Waking up my PC?How to Fix Sleep Mode Not Working in Windows 10/11[SOLVED] Windows Goes to Sleep Mode Instead of Locking Screen