With the increasing demand and use, networks become more and more complicated and handling them can be an issue. Especially when an issue takes it down and you have to go through to pinpoint the cause. We know that networks, now and then, tend to go down due to some issues faced by one of the connected servers. Now, you can’t stop these errors from appearing, however, what you can do is monitor your network at all times so that when such an issue pops up, it is dealt as soon as possible. In this article, we will be showing you how to monitor your network using a tool called ipMonitor. ipMonitor is a network management tool developed by Solarwinds Inc that you can use to monitor all of your servers and applications from a single web console.
Installing ipMonitor
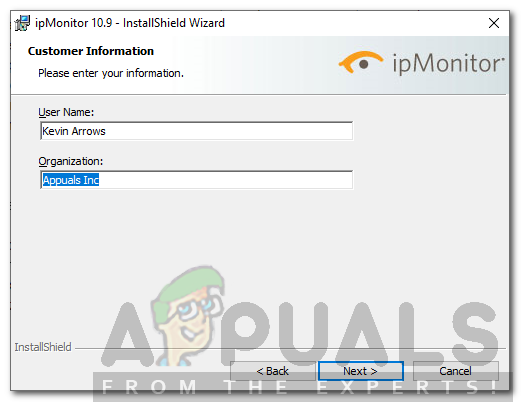
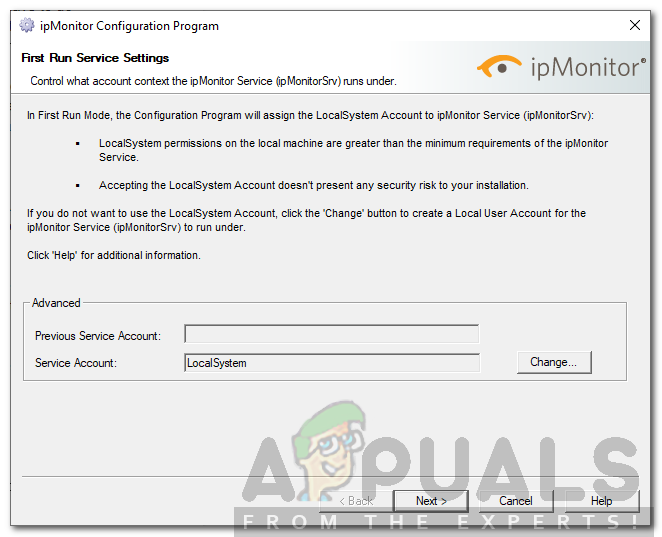
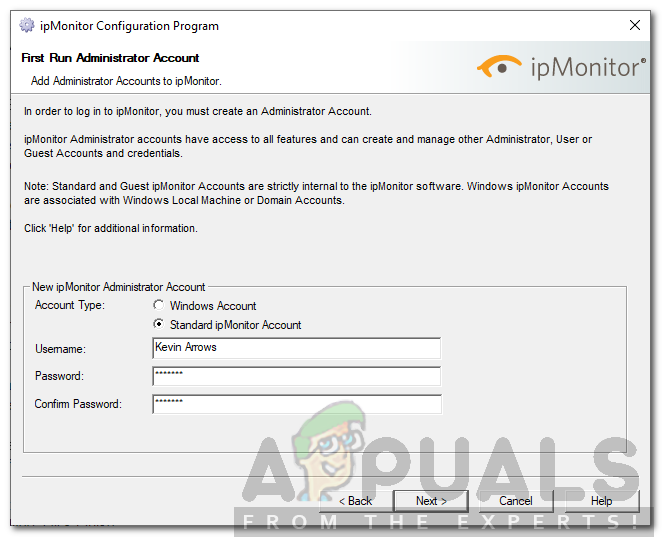
Now, before we jump into the article and guide you through, first, let’s get the required tool installed on your system. You can get the ipMonitor tool from here for a free trial to see how it works. Go ahead and download the tool and then follow the given steps:
Scanning your Network
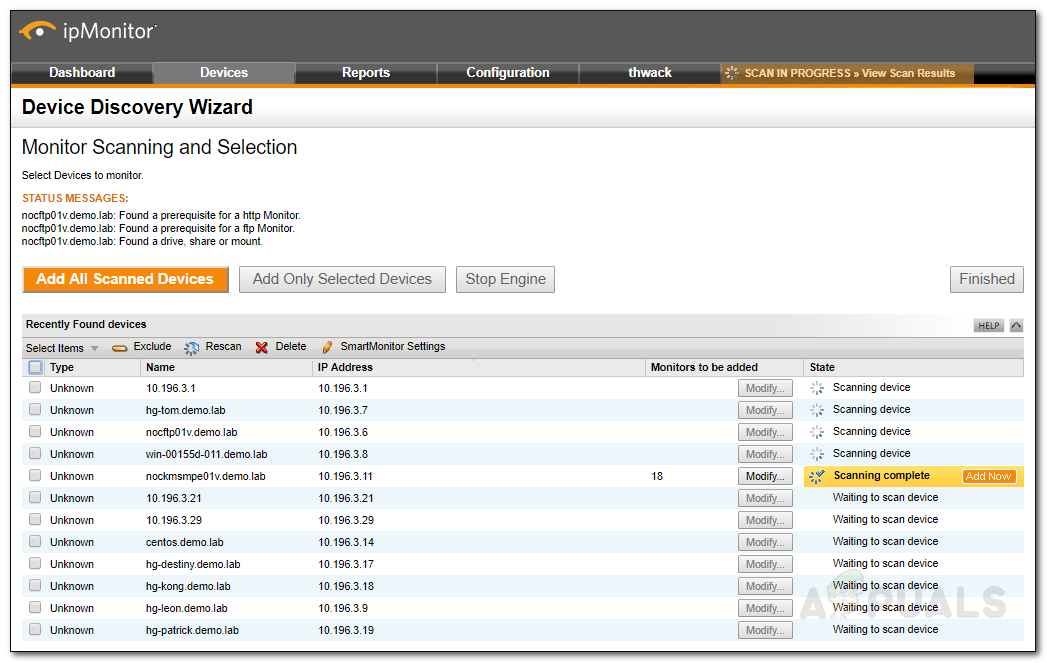
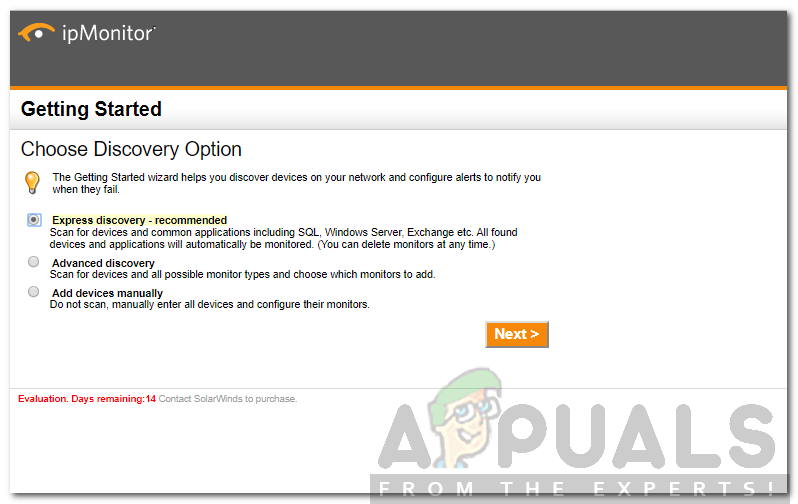
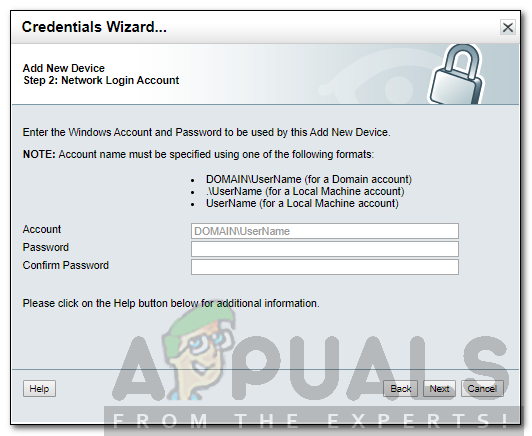
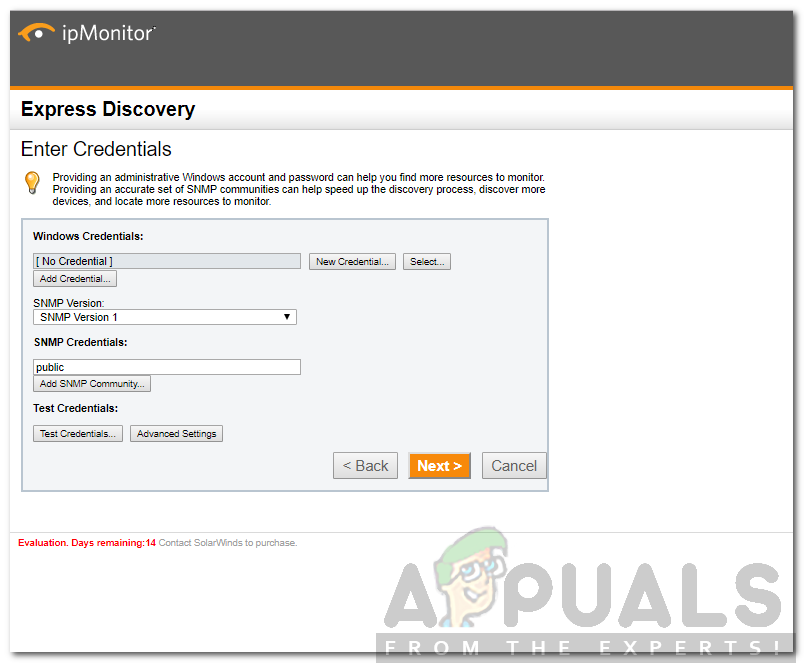
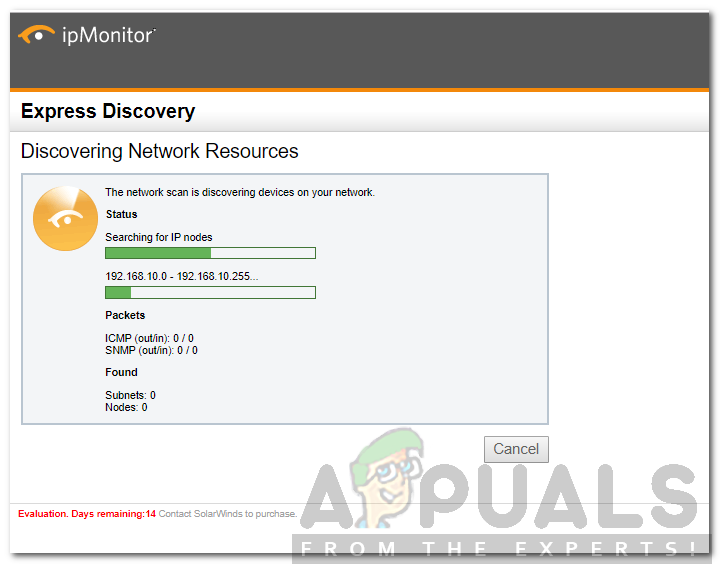
You now have successfully installed and configured the ipMonitor tool. Now, what we need to do is scan your network and then start monitoring it. Once you complete the configuration wizard, you will be prompted to a web user interface. Log in to that using the login credentials. Once done, follow the below steps:
Creating an Alert
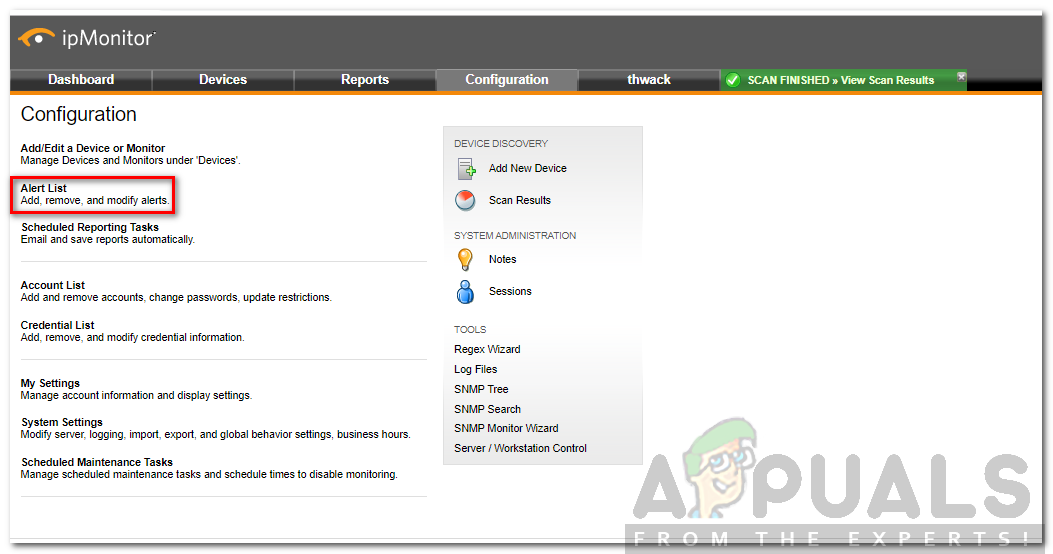
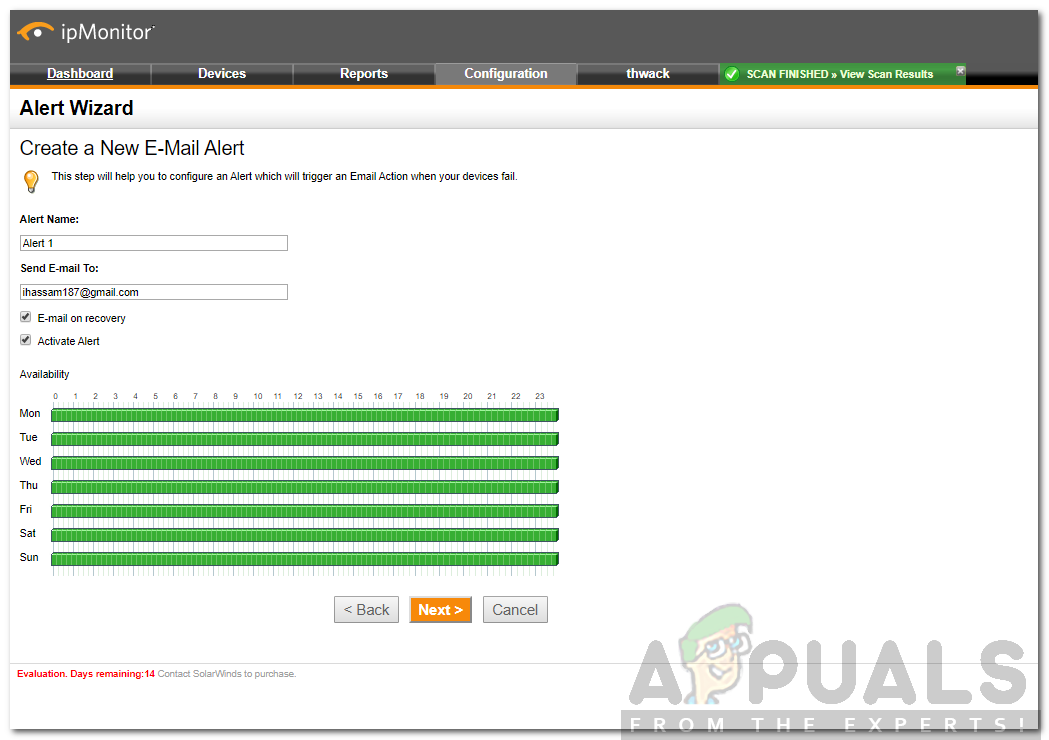
Now that you have scanned your network, it is time to create some alerts for the added network. These alerts will notify you when an issue strikes your network. Here’s how to do it:
Performing Actions with an Alert
You can also make the tool take certain actions once a certain alert pops up e.g restart the service, reboot the server, etc. Here’s how to do it:
How to Monitor your VoIP Network using VoIP and Network Quality Manager?How to Monitor your Website using Website Performance Monitor?How to Monitor your Storage Resources using Storage Resource Monitor?How to Monitor Cisco Devices using Network Performance Monitor
